How to set up React Native Vector Icons.
Set up vector icons on your ios and android React Native projects.

React native Developer, Life long learner, Jesus Christ lover.
Intro
Whether on the web or on mobile platforms, icons play a necessary role in passing information to users.
In this article, I will walk you through a step by step guide on how to set up vector icons on your android and ios React Native projects.
First we set up a React Native project called todoApp.
Next we install a package called react-native-vector-icons .
At the root of your project in terminal, type this
npm install --save react-native-vector-icons
or if you prefer yarn 🧶
yarn add react-native-vector-icons
Android set up
After installation, go to
android/app/build.gradle
and add this line of code
apply from: "../../node_modules/react-native-vector-icons/fonts.gradle"
Then rebuild your android project with
yarn android
or
npx react-native run-android
To test our icons, go to any page of your app and do the following
- First import your desired icon family (You can find all the icons directory here ).
Let's import AntDesign
import AntDesign from 'react-native-vector-icons/AntDesign'
- Finally we use a font from AntDesign like so
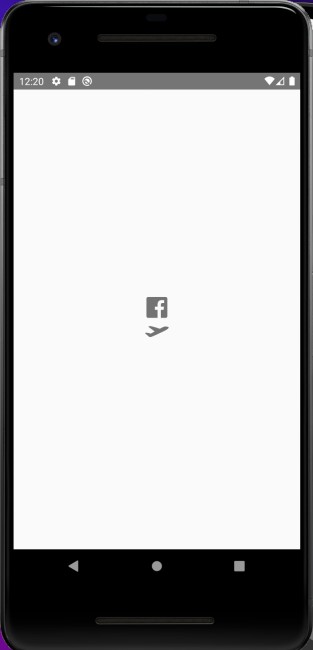
<AntDesign name="facebook-square" size={34} />
Let's add another one from another icon family called "Entypo"
import Entypo from 'react-native-vector-icons/Entypo';
We use an Entypo font like so
<Entypo name="aircraft-take-off" size={34} />
Save your work and you should have this
ios set up
P.S : You can only do this set up on an apple Mac book PC.
While android is a bit straight forward, the same is not for ios which is a bit tricky.
- After installing react-native-vector-icons the next thing is to open your project in xcode. I usually do that from the root of my project using
xed ios
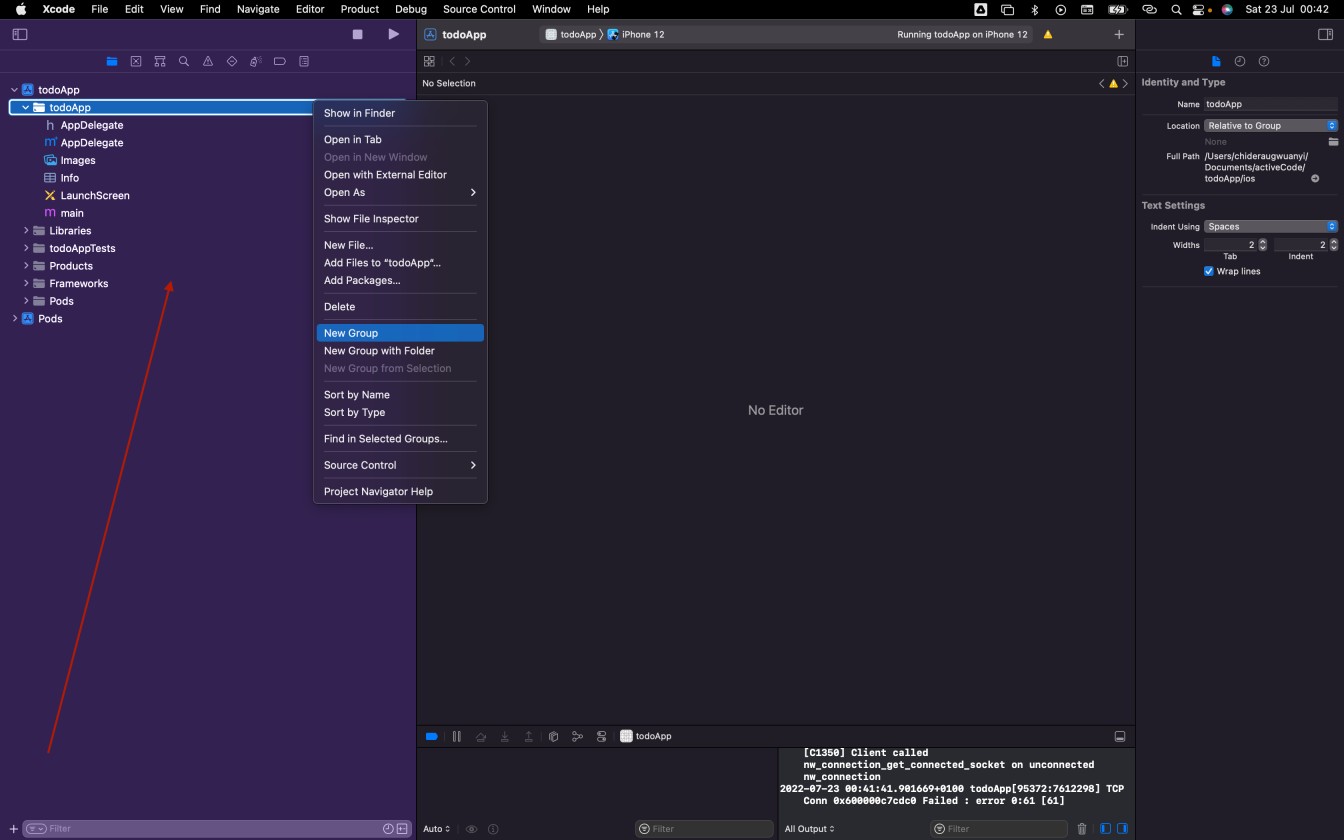
On xcode, right click on the name of your project and click on "New Group" to create a group
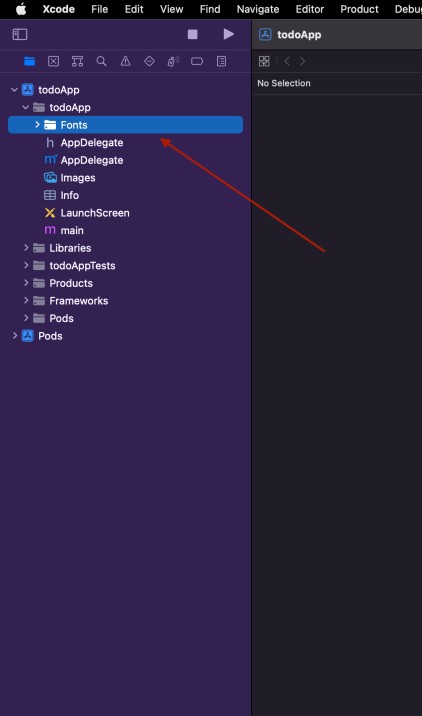
Name the group "Fonts"
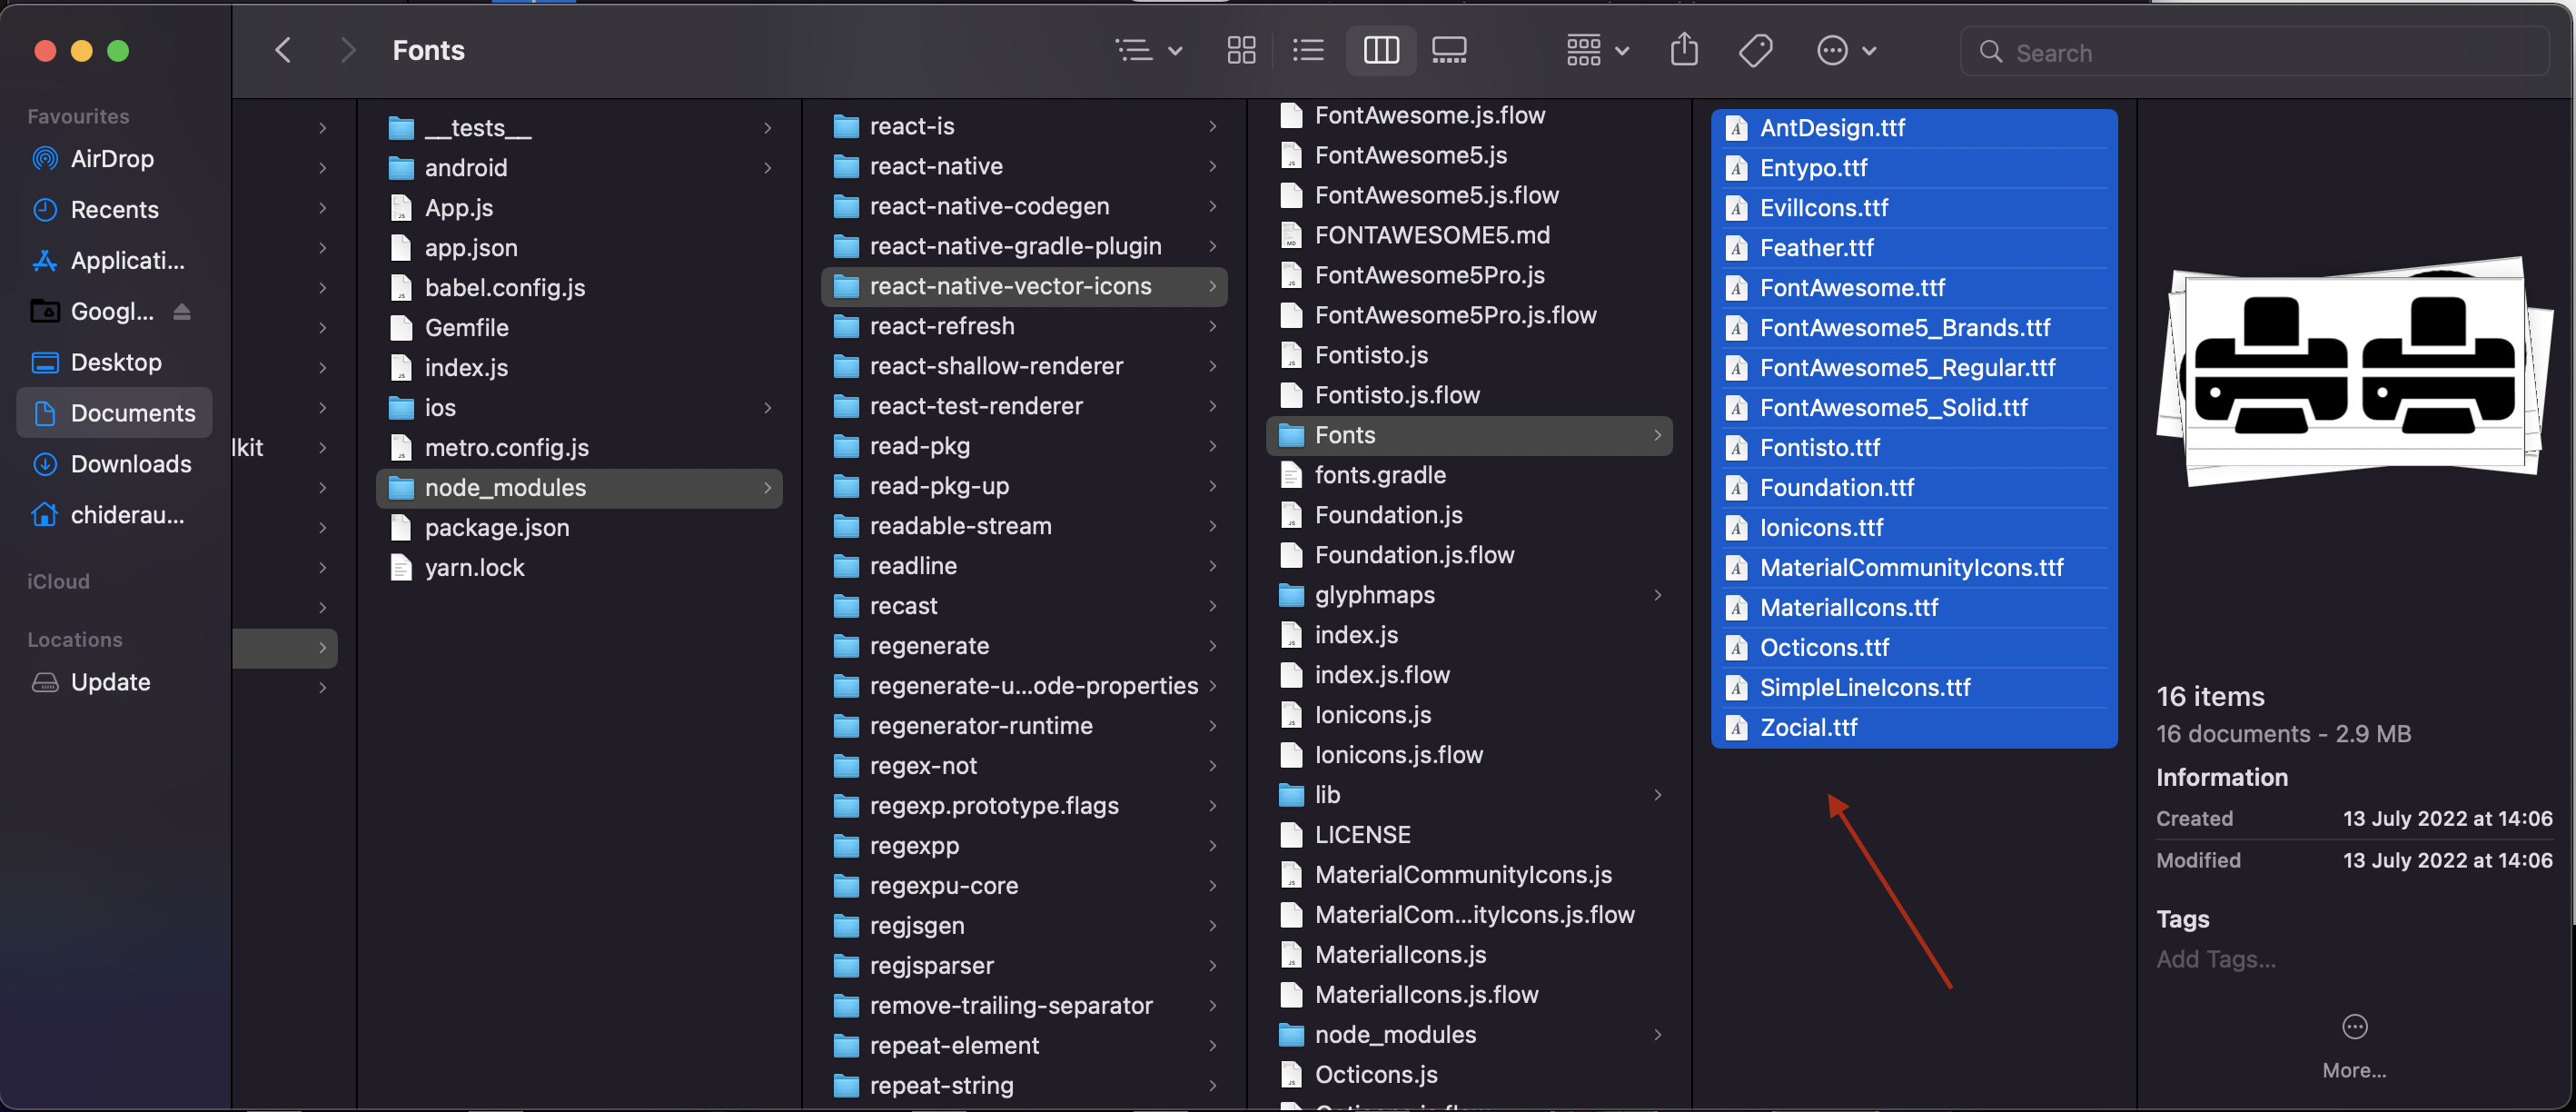
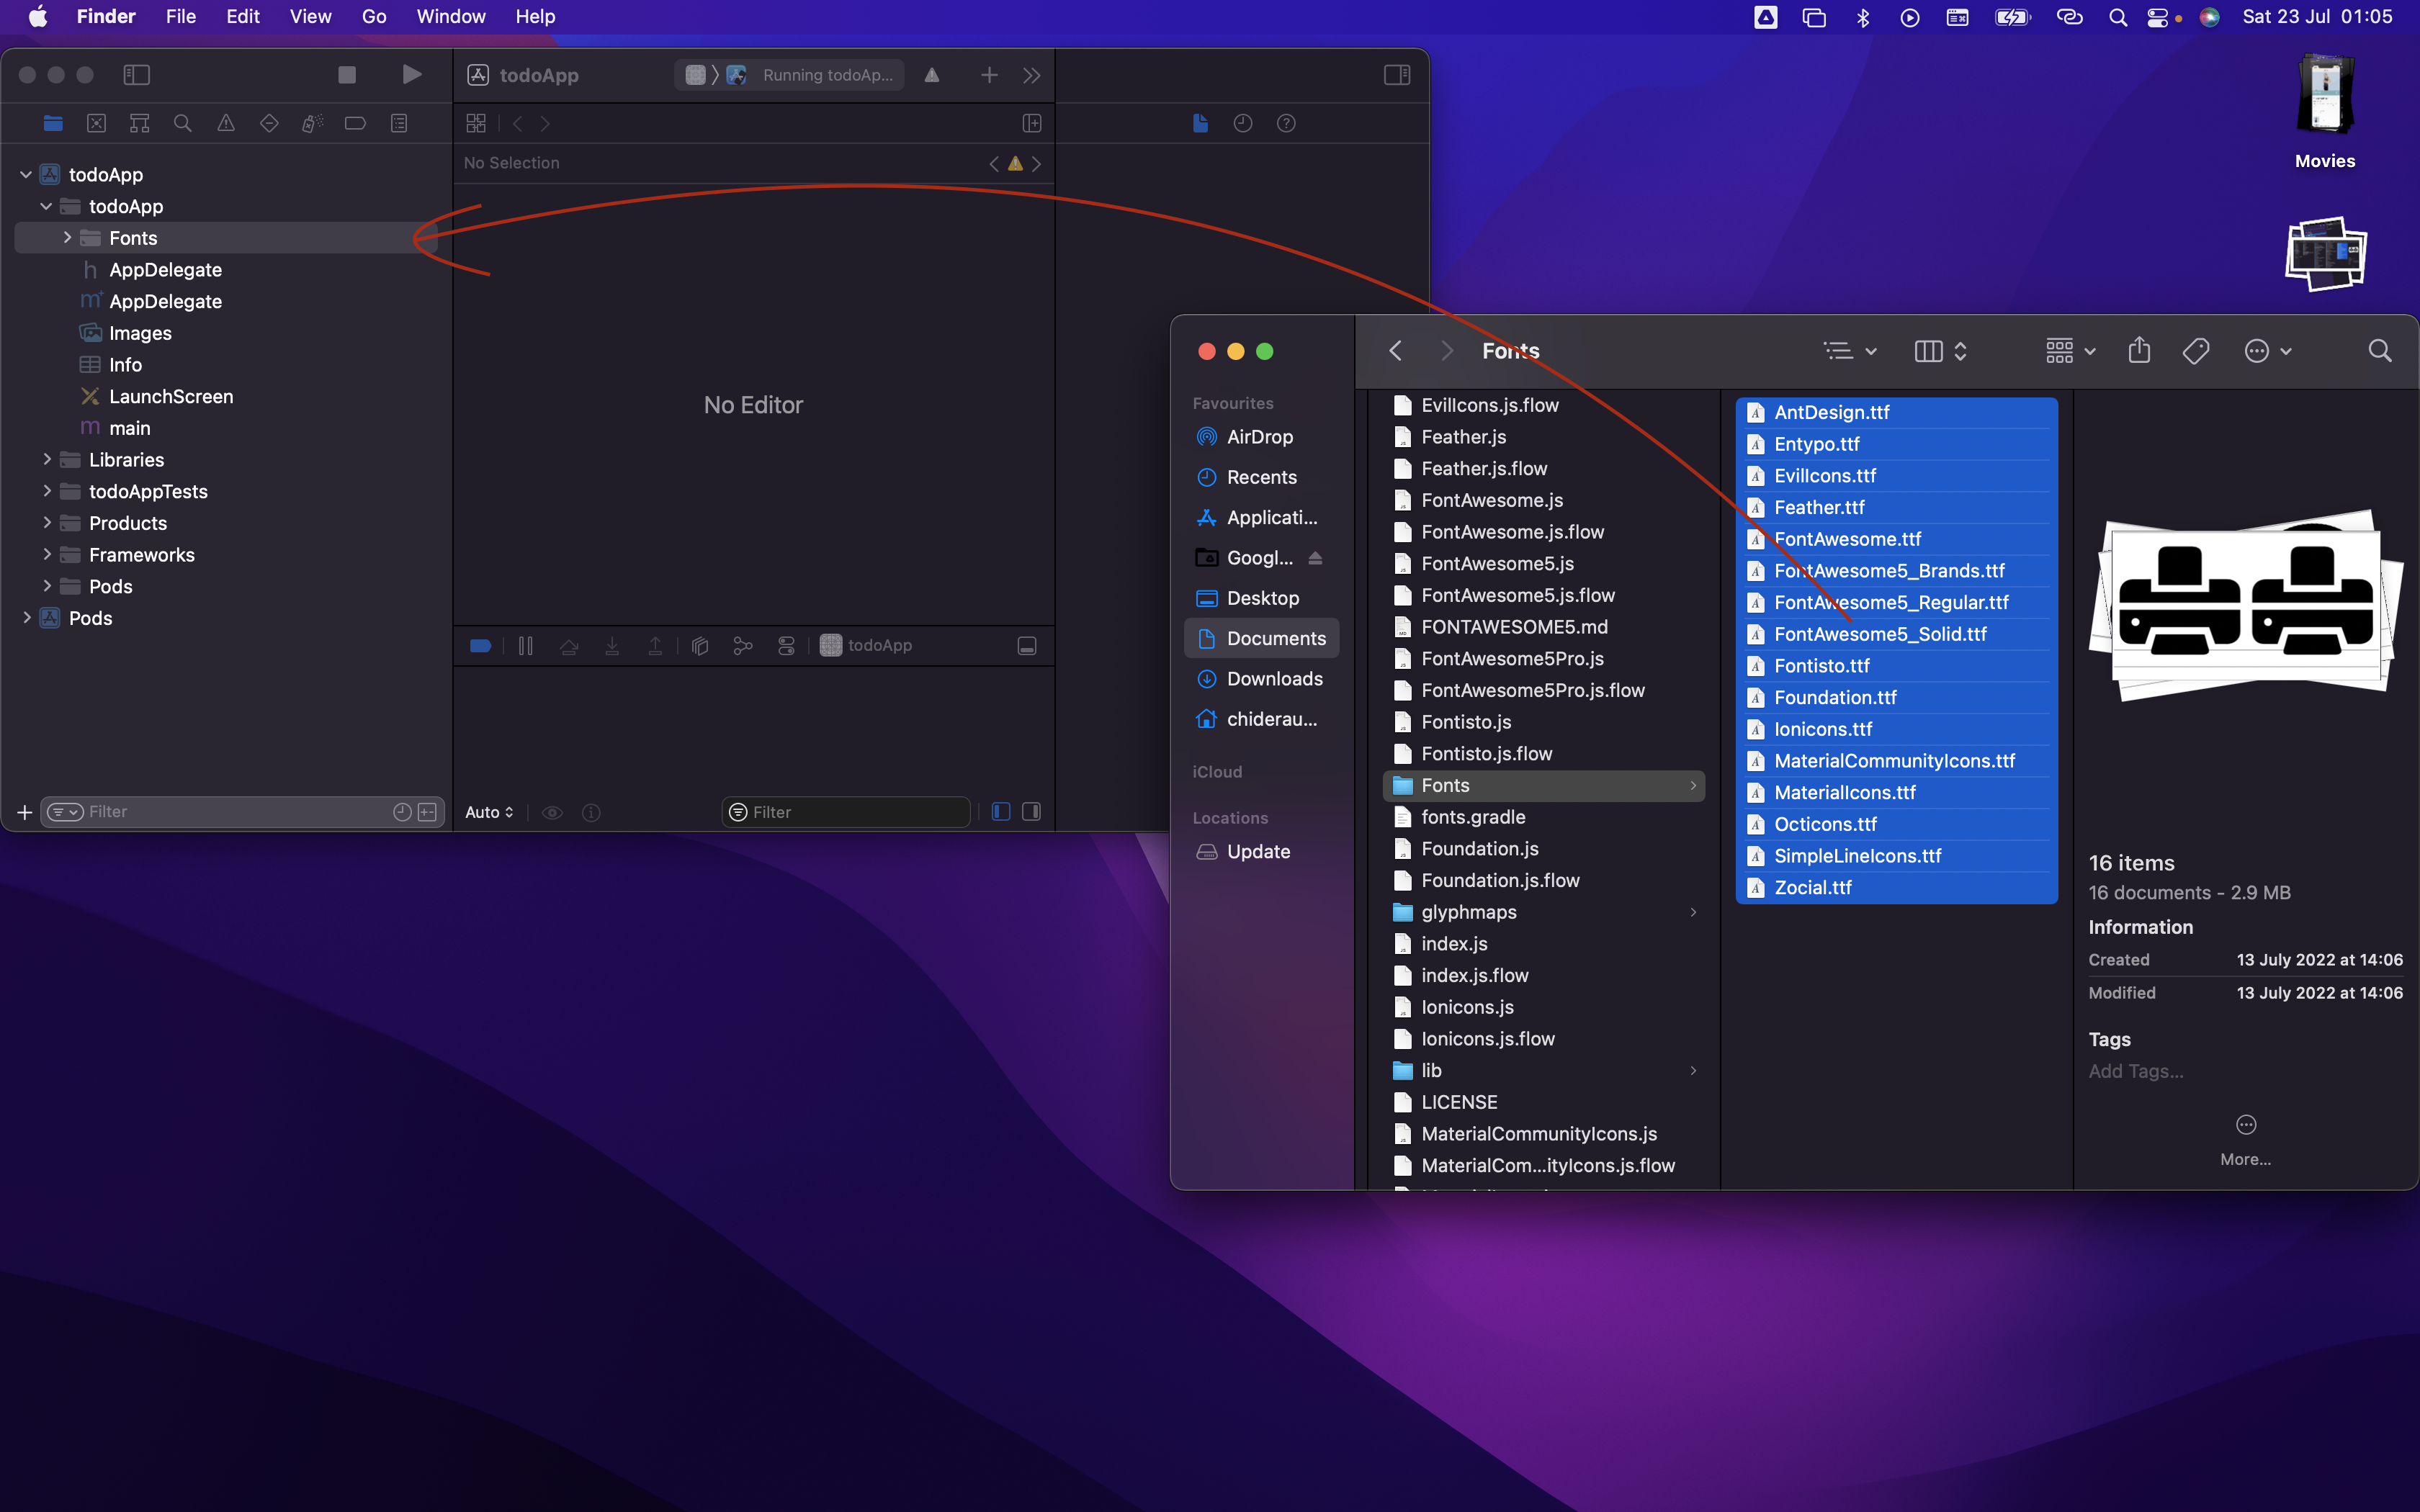
After this, go to your project's "node modules folder" from Mac Finder, look for and open "react-native-vector-icons", then open the "Fonts" folder there. You'll see some fonts there ending with ".ttf" . Select all the fonts
Now keep your xcode and Fonts folder side by side and drag the selected fonts from there to the "Fonts" group you created in your project's xcode.
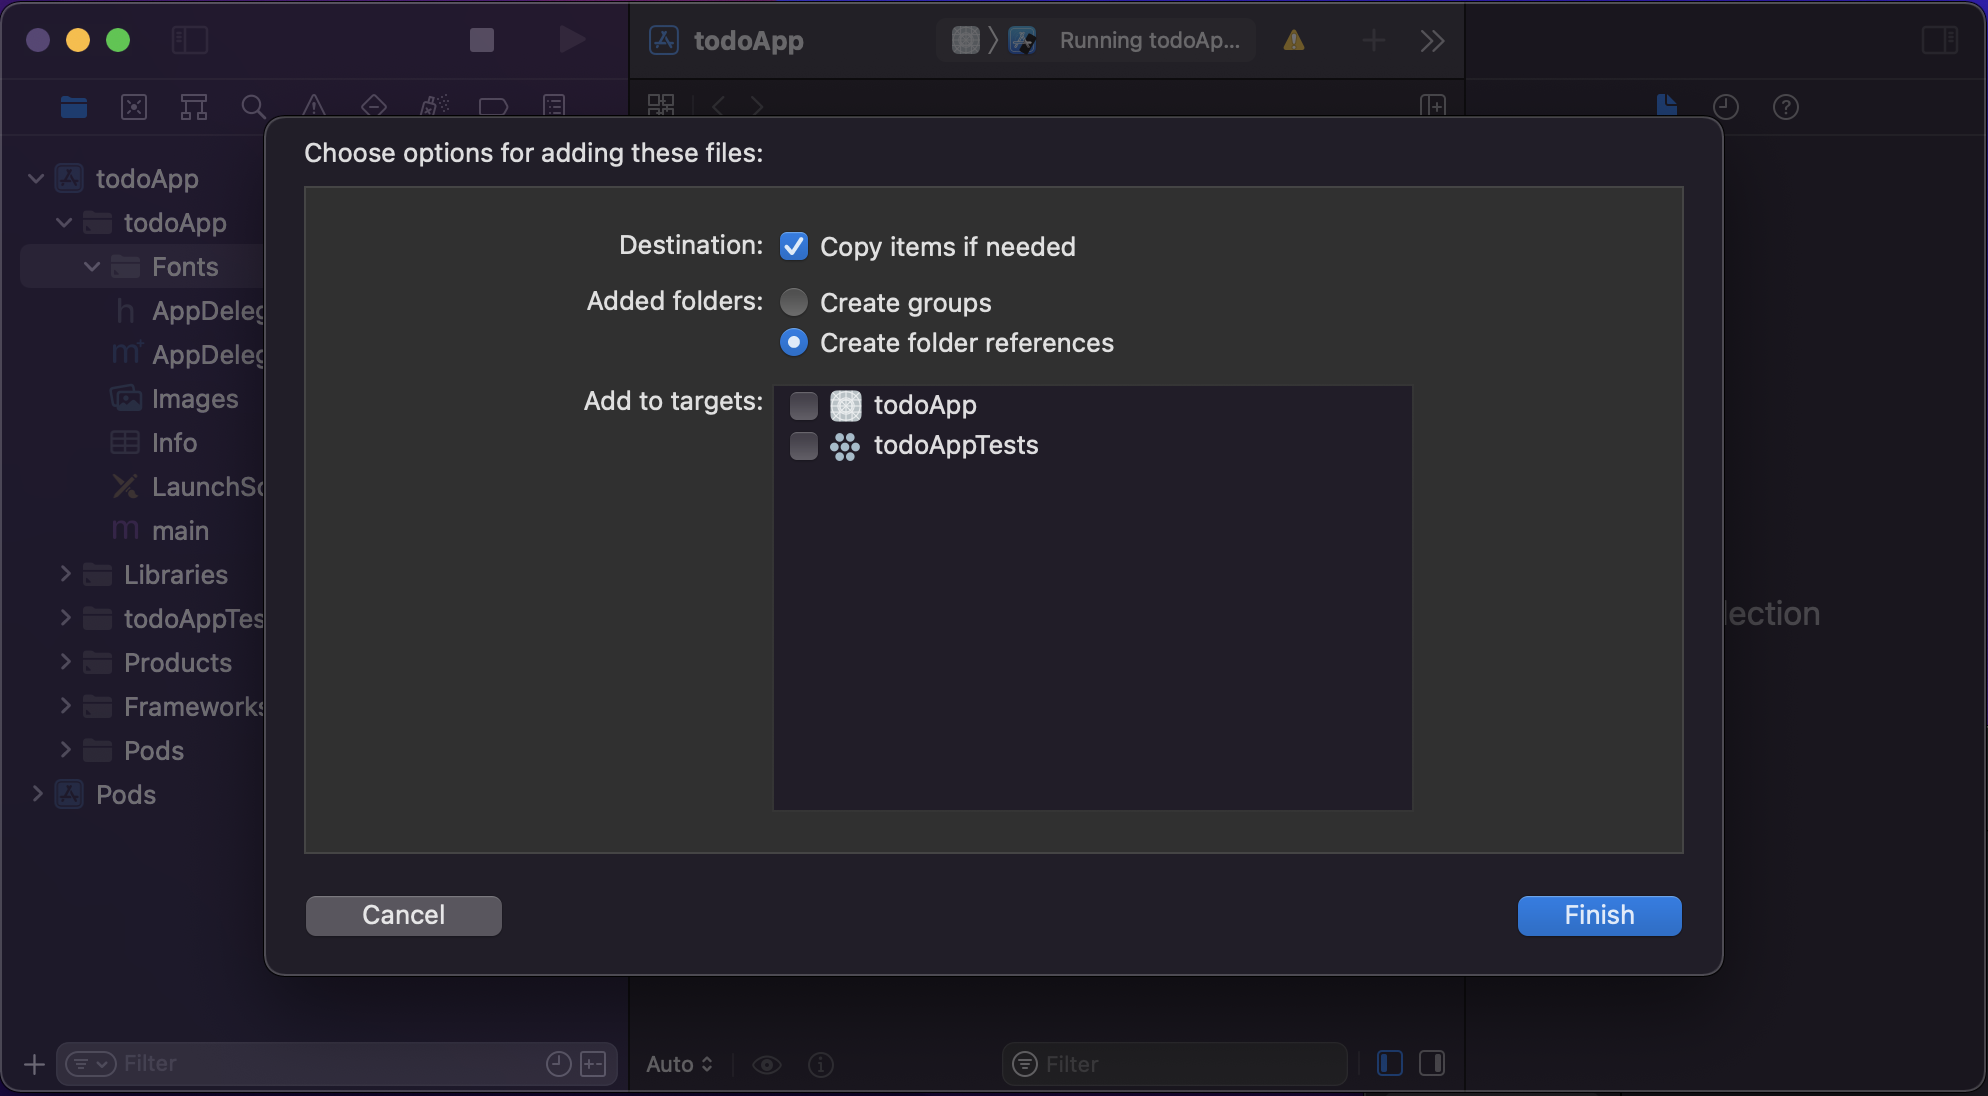
A screen will pop up like this, Ensure that "Copy items if needed" and " Create folder references" is ticked. Then click "Finish"
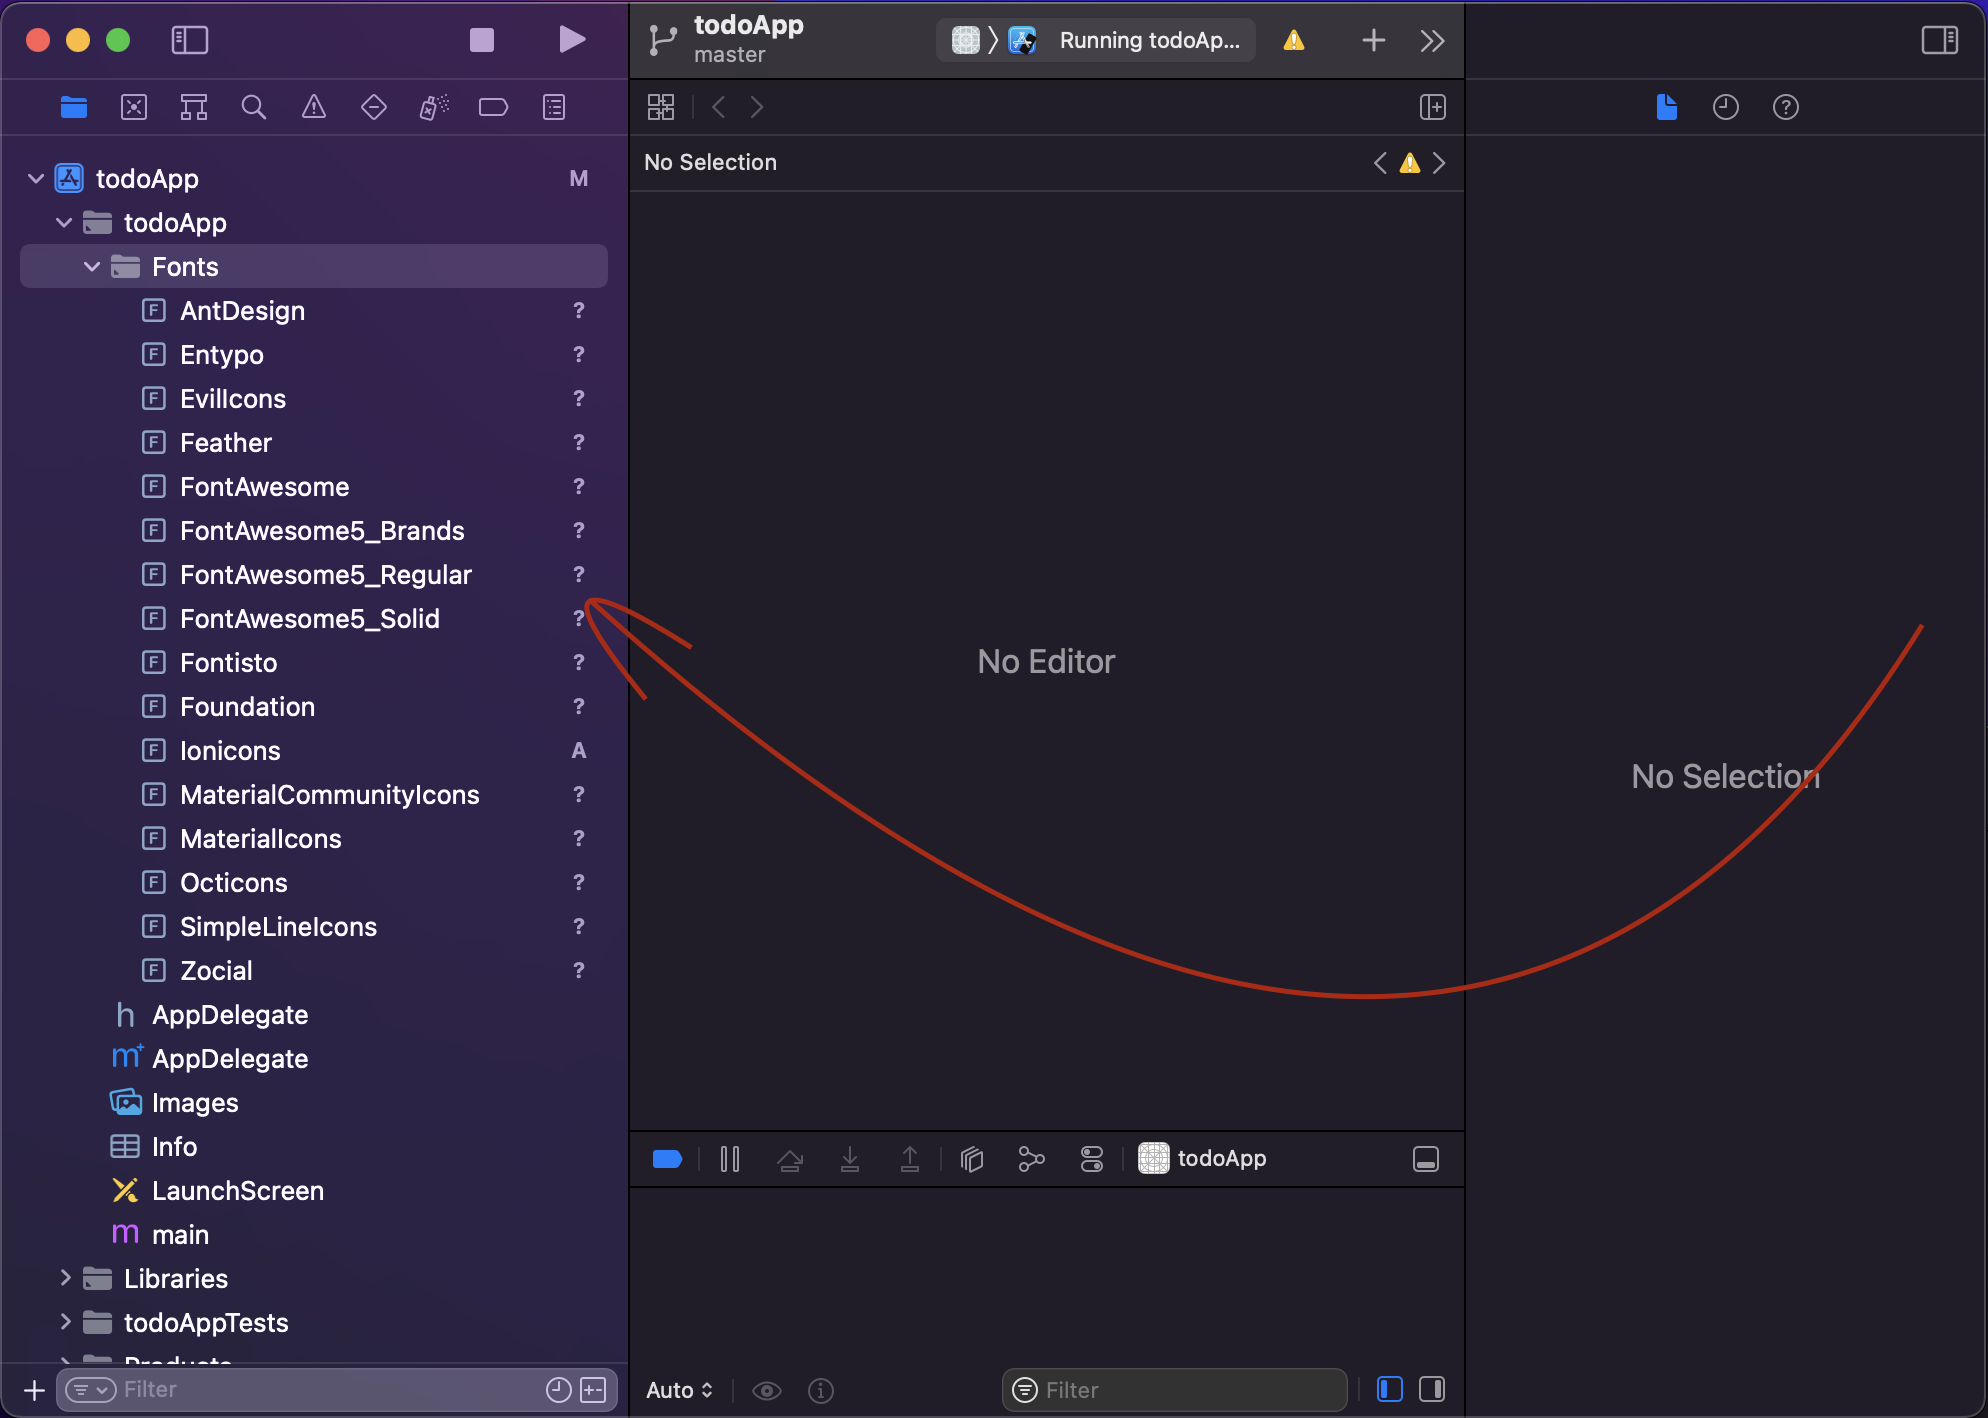
You should now see all the fonts in the Fonts Group you created.
Still on xcode, at the same directory level as the Fonts group you just created, you'll see a file called "info.plist" or "info"" (if abbreviated by xcode), click it. it'll open a window on the right hand side, look for this "Information property List", hover on it or click on it until you see a plus icon (+) like this
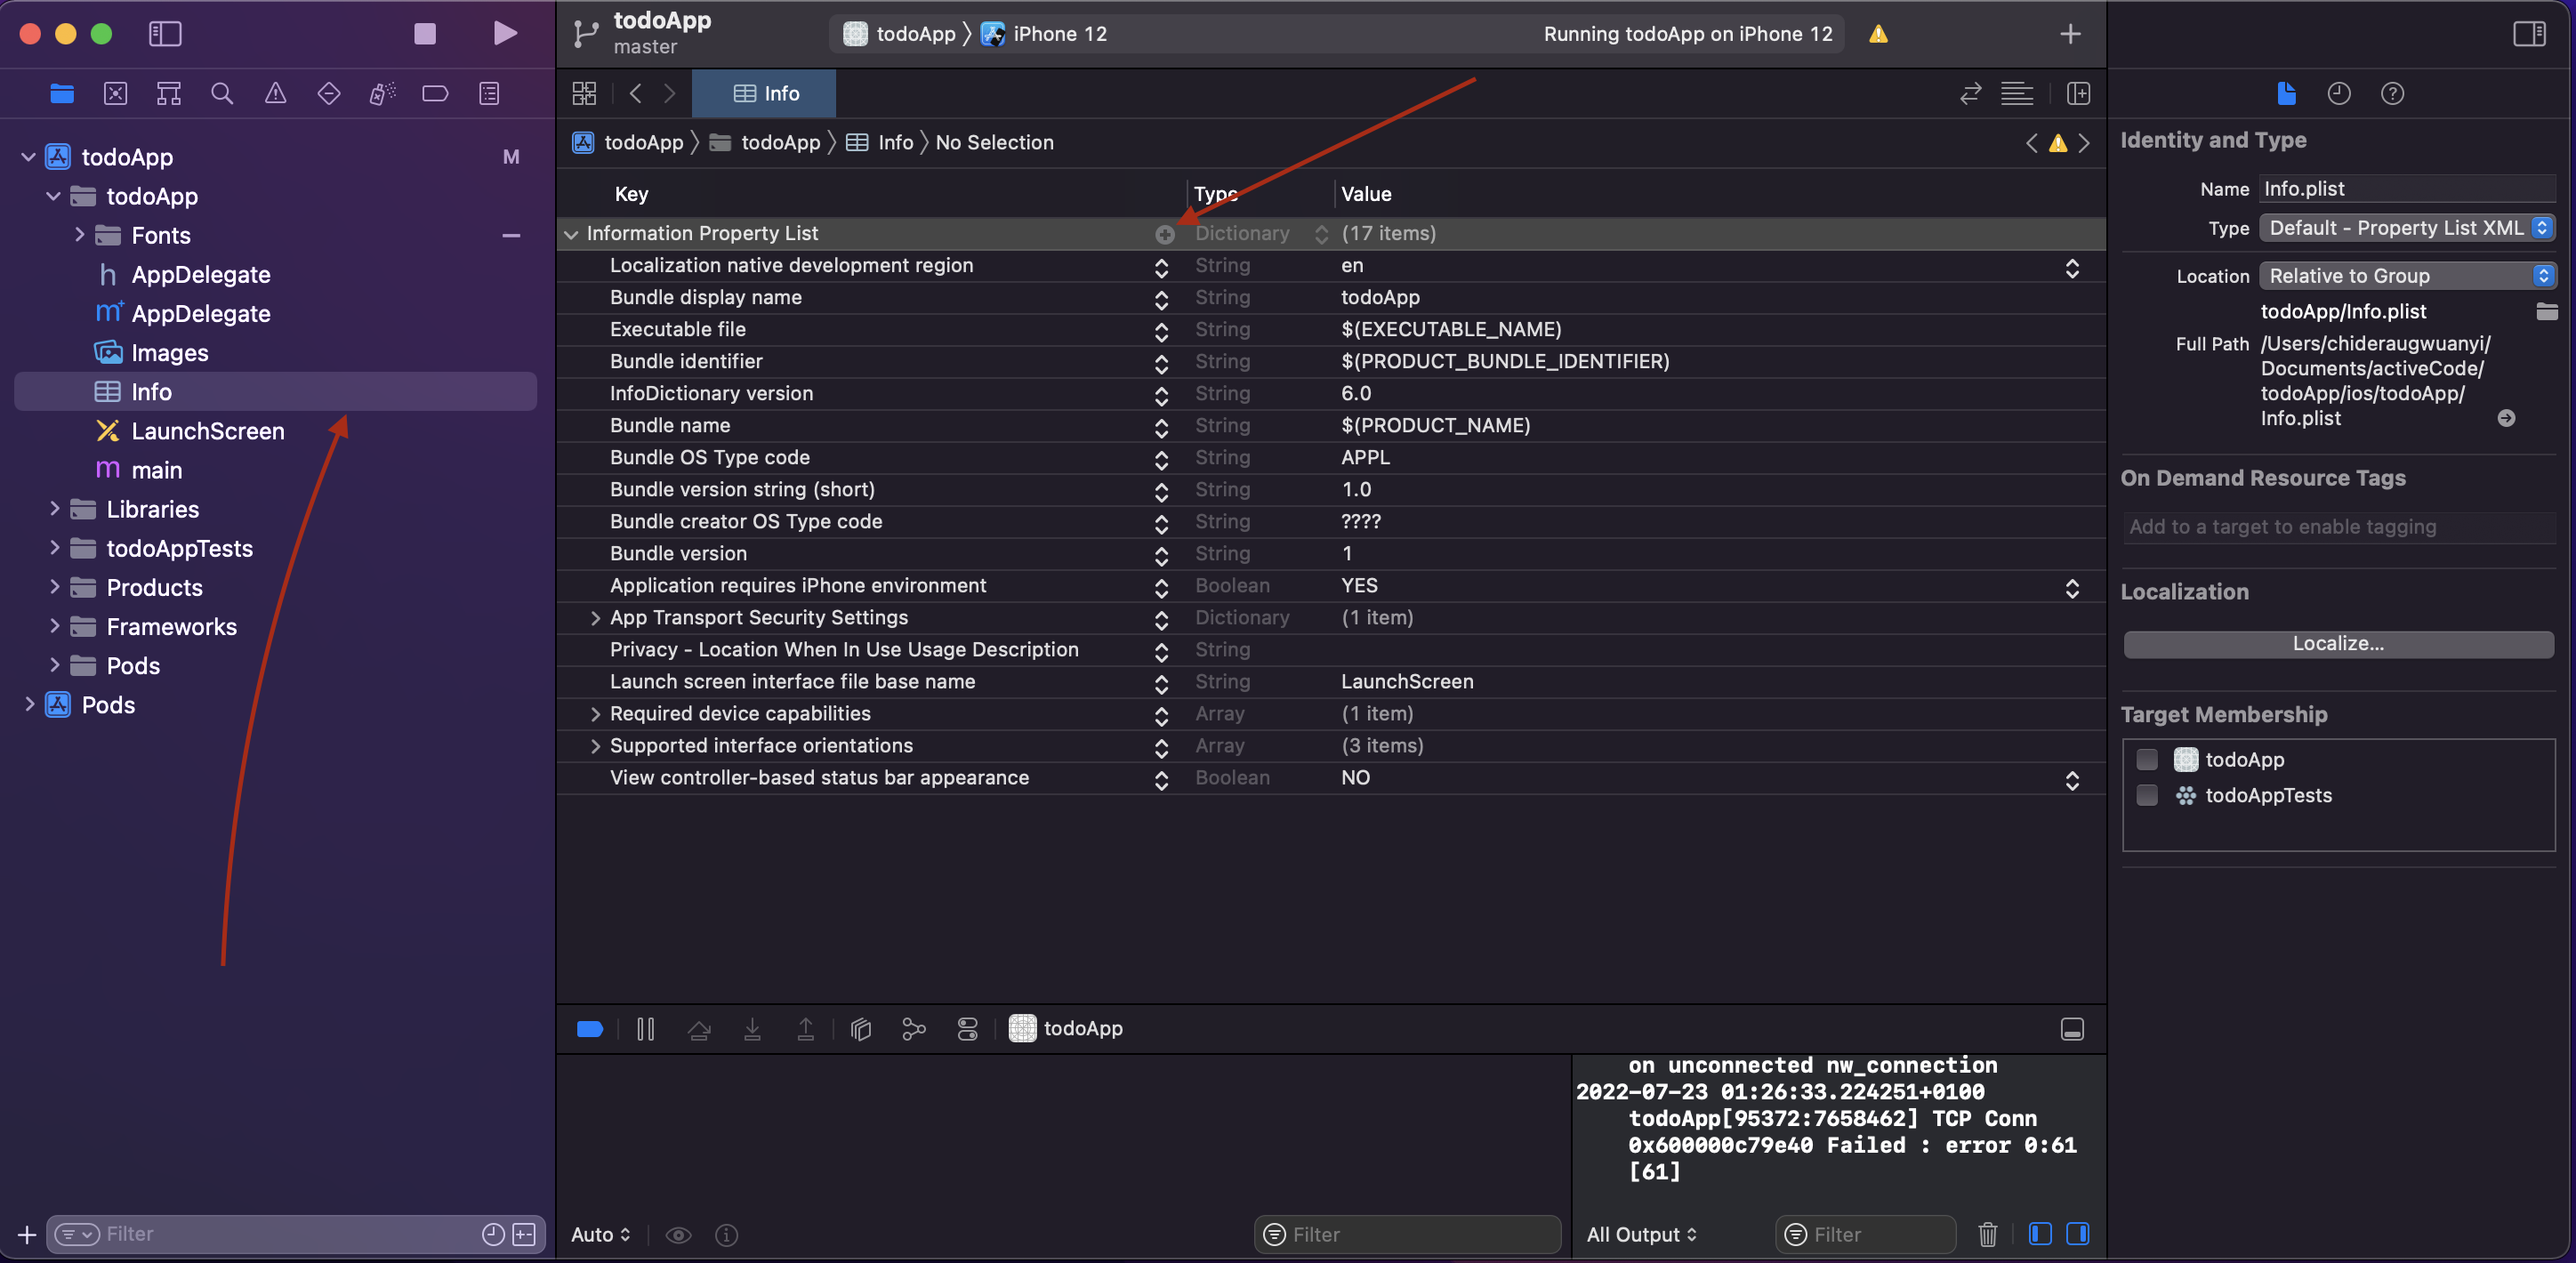
Click on the plus icon. An input will come up, type in "Fonts provided by application", it should auto-complete as you type. Once done, click enter
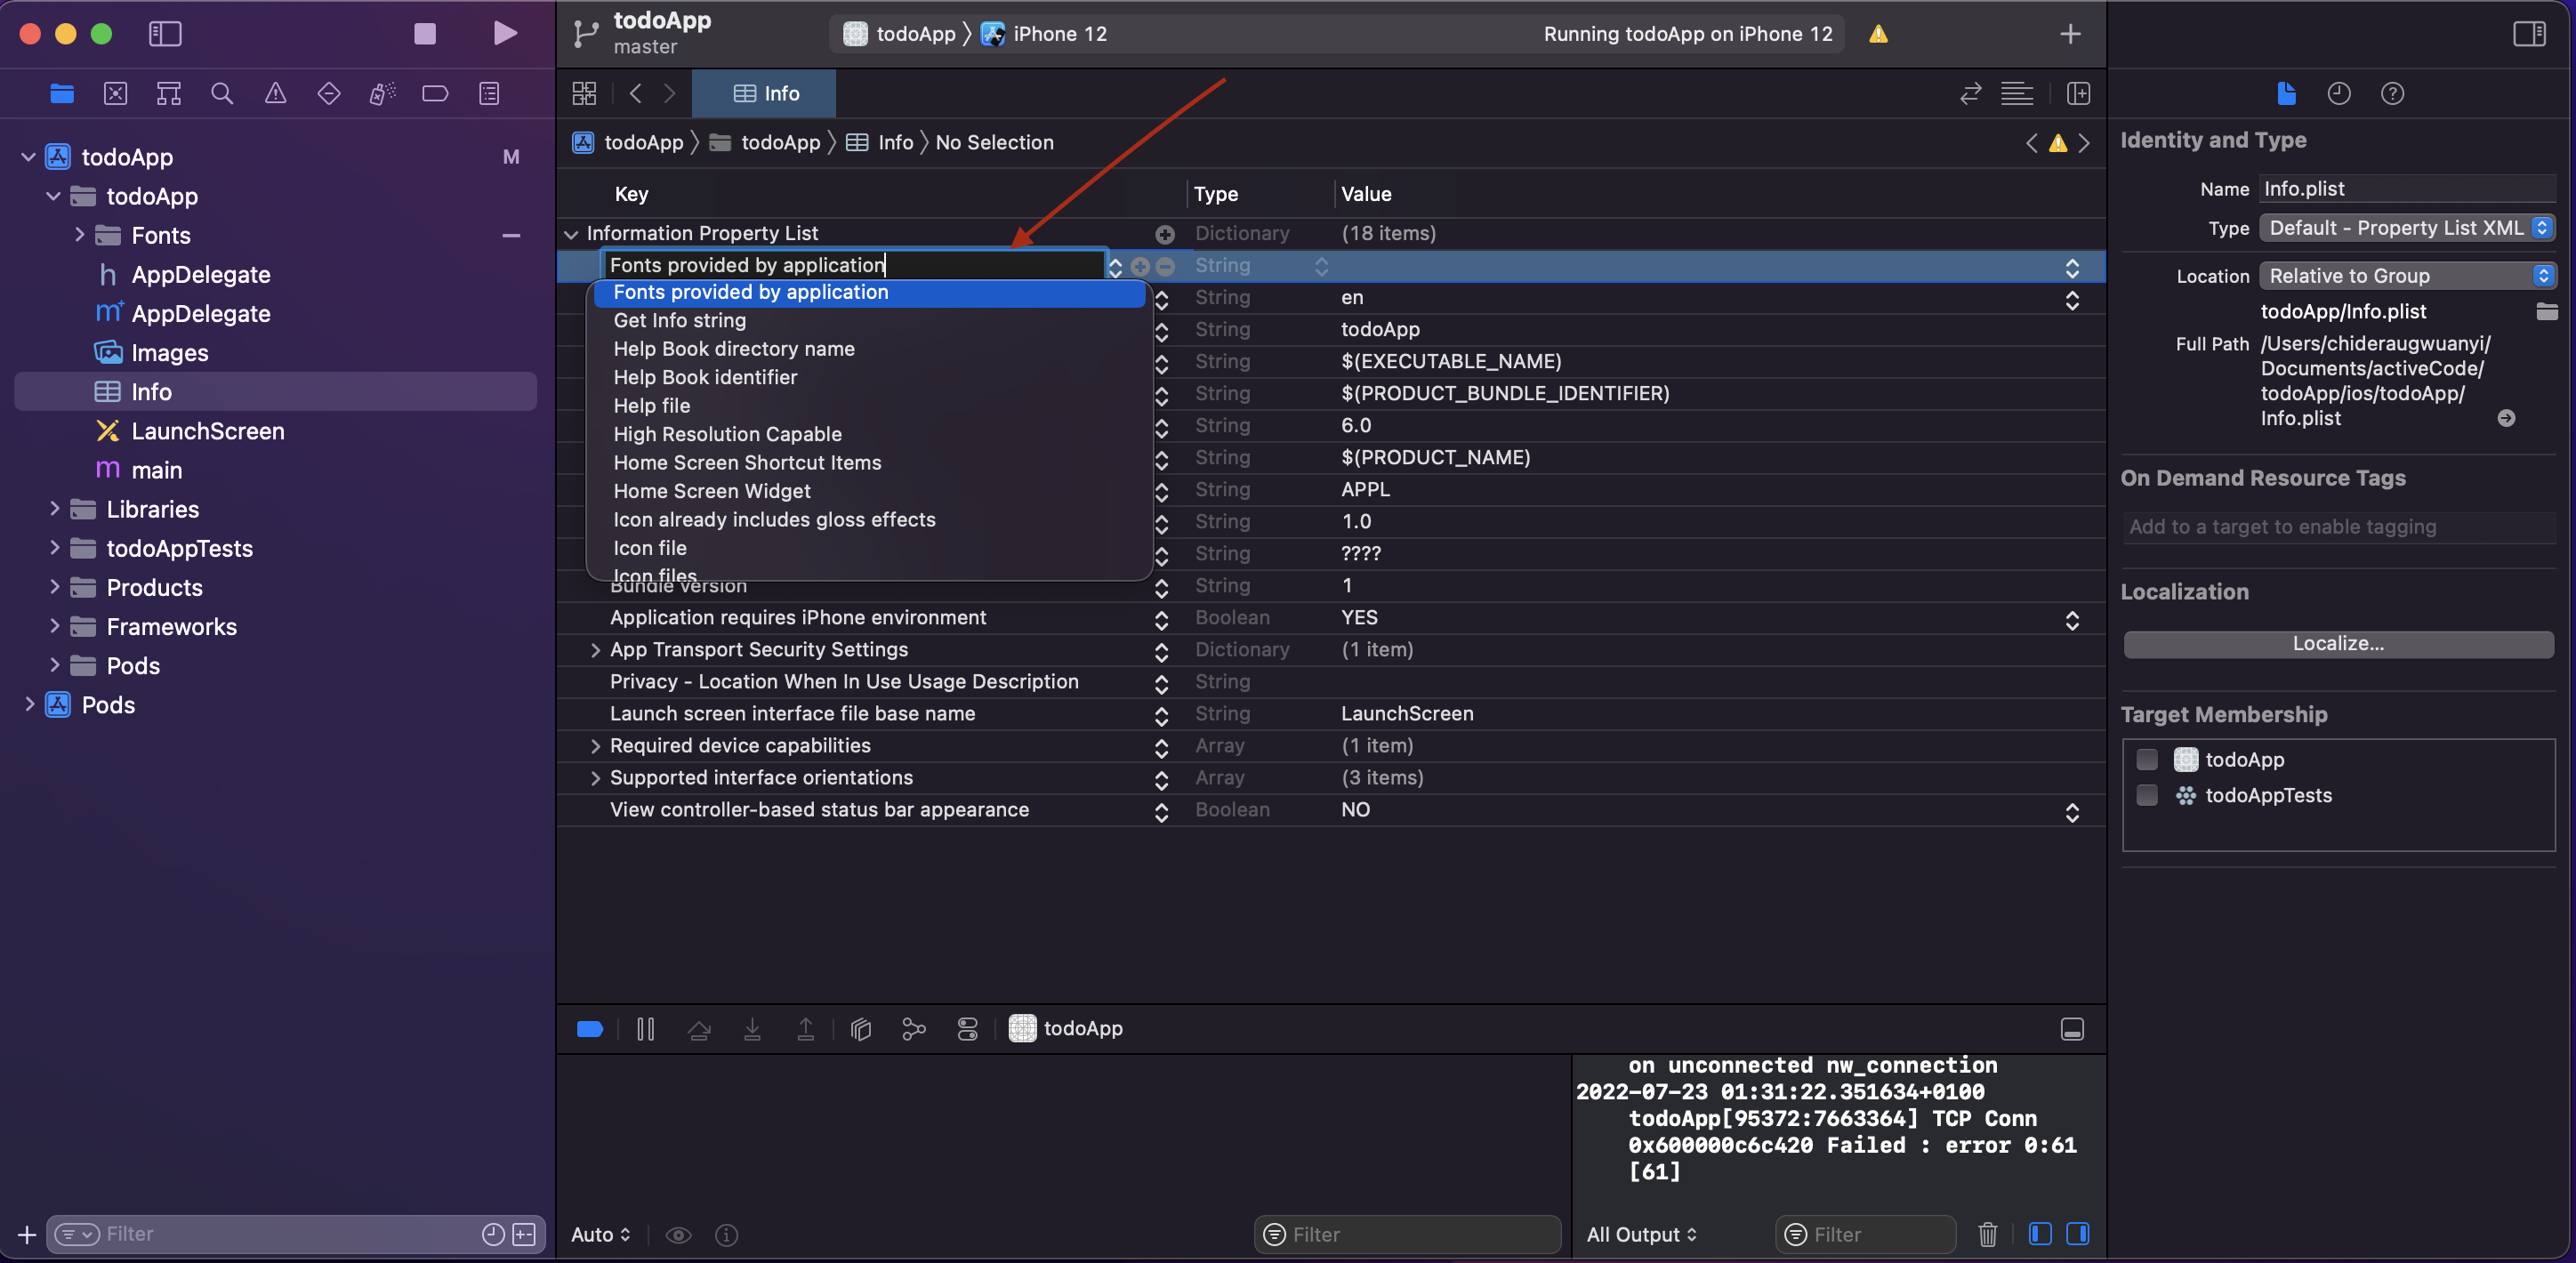
When you click enter, it'll be created and you'll see a dropdown icon on it. Click on the drop down icon and you should see a key value pair input created initially as "item 0" like this

Now we are going to add all our icons here one after the other. To get a list of the icons, goto
yourApp/node_modules/react-native-vector-icons/Fonts
Then start copying the names of the icons and adding them. To this, click on the right hand side of Item 0 on the dropdown you just clicked on xcode

On item 0, I'll add AntDesign.ttf like so

To add another font, click on the plus icon(+) on "Fonts provided by application" and it'll generate another "item 0" key value pair for you, go ahead and add the name of the second icon. I'll add Entypo

Once done, click on the plus icon(+) on "Fonts provided by application" to add another icon until you have added all the icons.
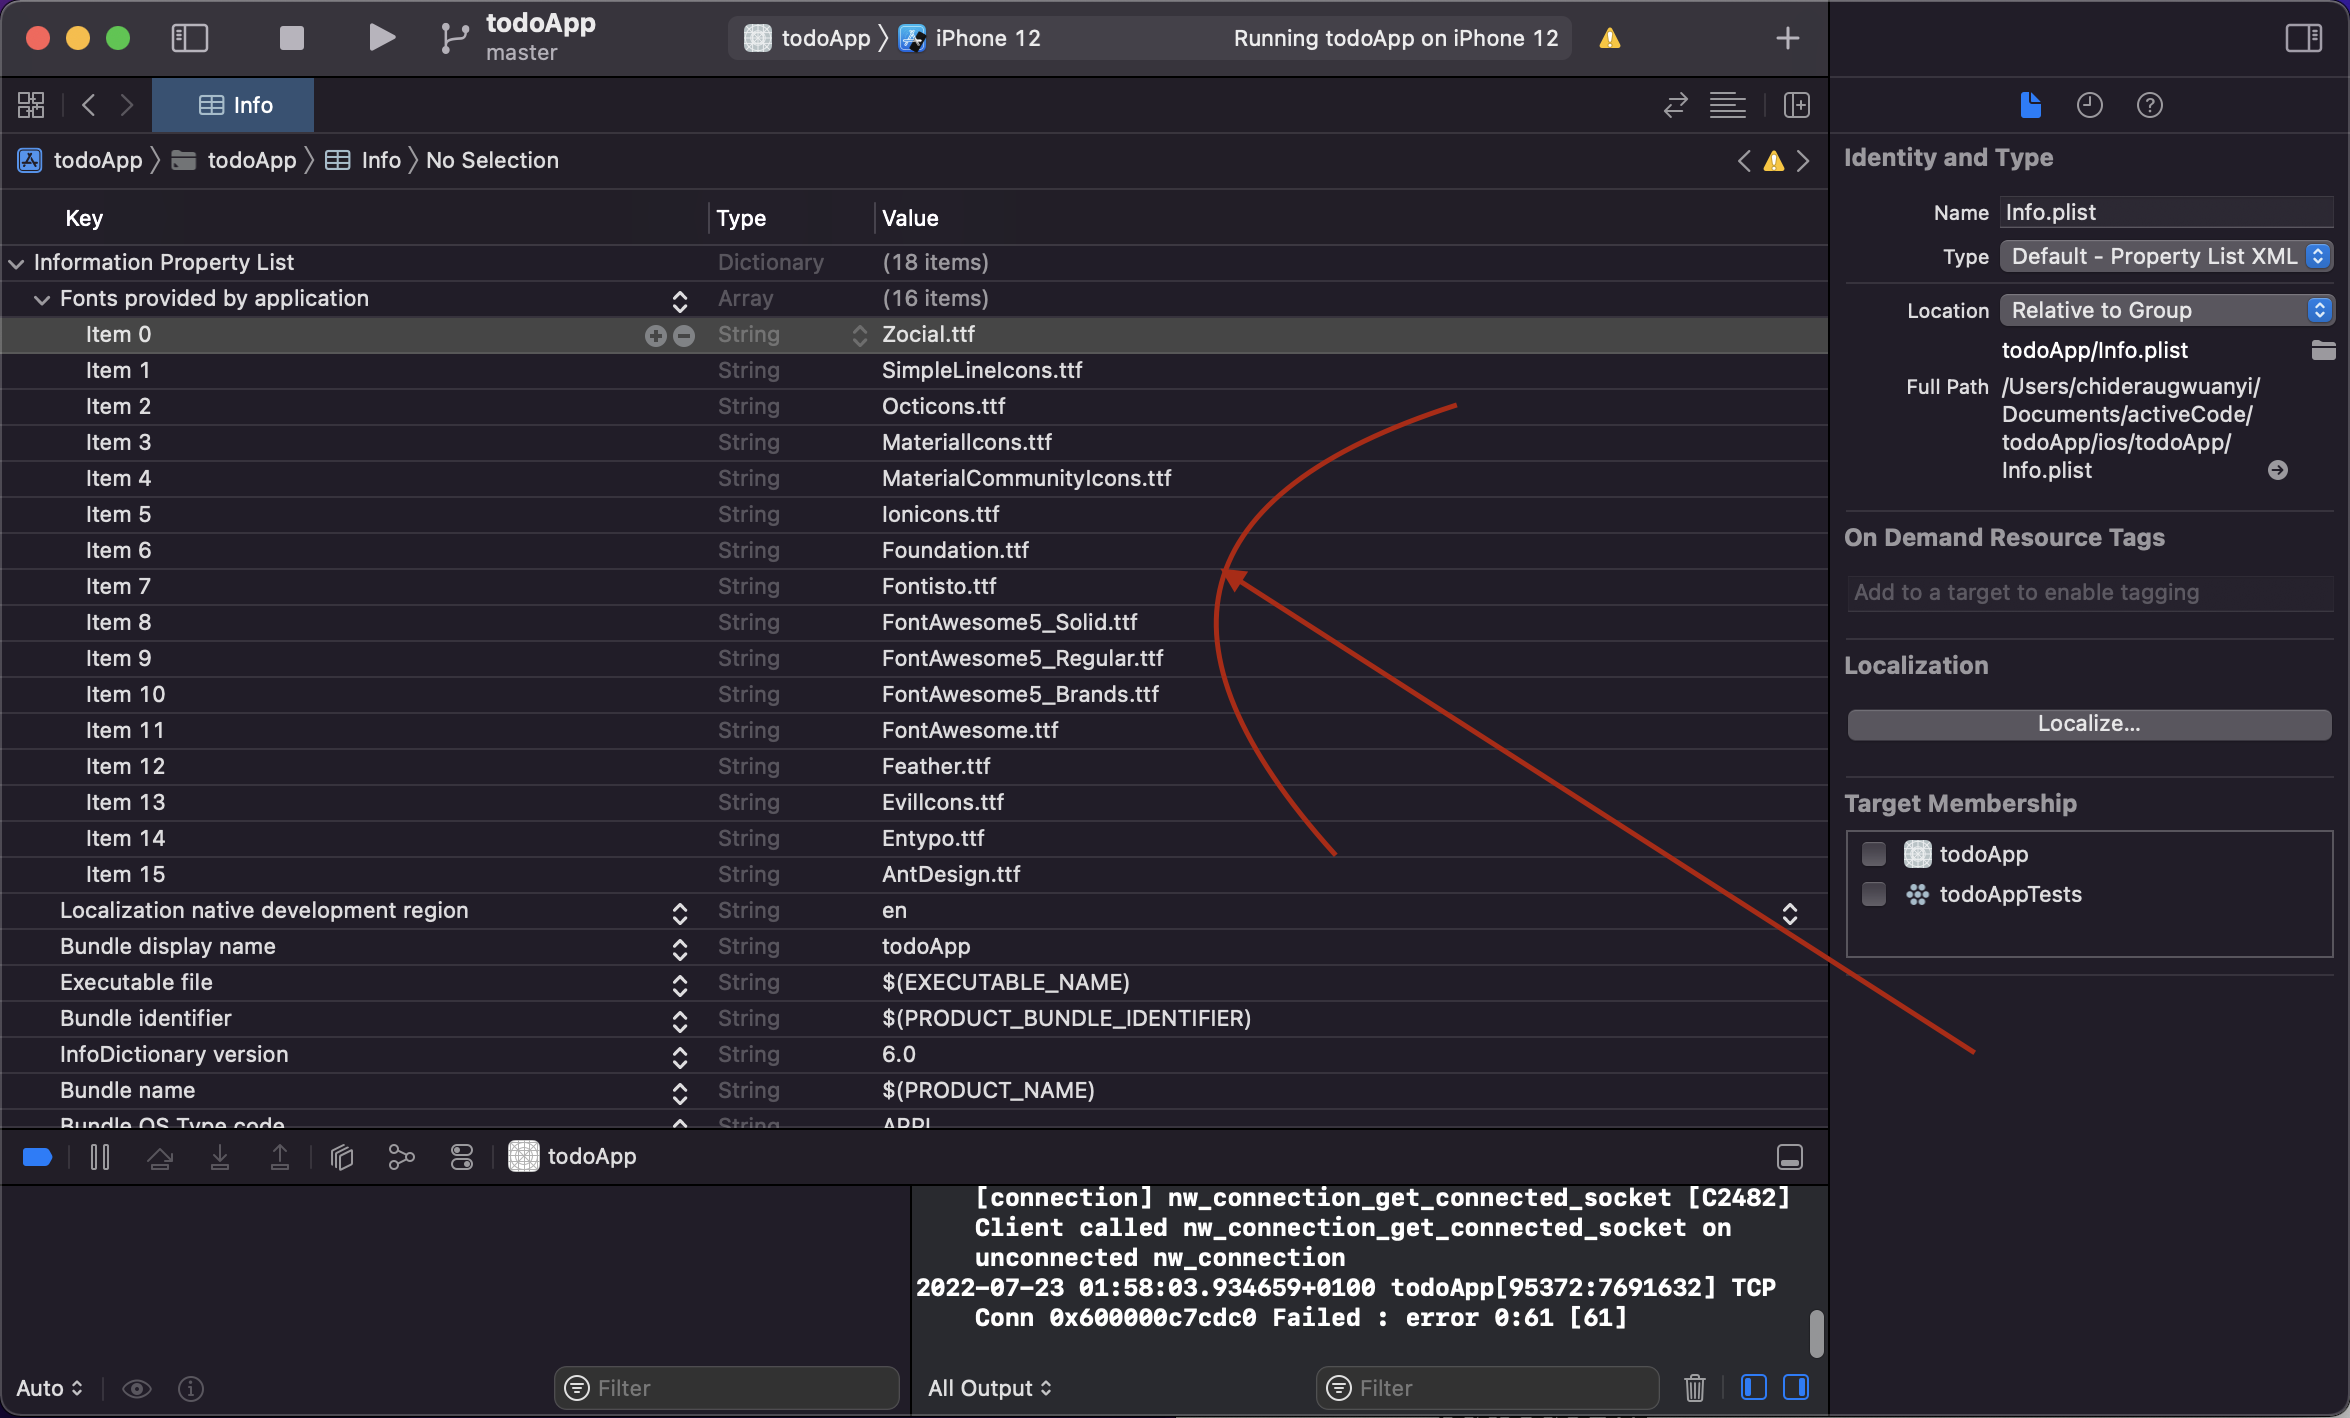
As of "react-native-vector-icons": "^9.2.0", here are the list of available icon families.
AntDesign.ttf
Entypo.ttf
Evillcons.ttf
Feather.ttf
FontAwesome.ttf
FontAwesome5_Brands.ttf
FontAwesome5_Regular.ttf
FontAwesome5_Solid.ttf
Fontisto.ttf
Foundation.ttf
Ionicons.ttf
MaterialCommunityIcons.ttf
Materiallcons.ttf
Octicons.ttf
SimpleLineIcons.ttf
Zocial.ttf
Follow the same process and add all of them. Don't forget to include the .ttf in the names.
If you did it well, you should have this
After you've added the fonts, go to your project's root directory and pod install like so
npx pod-install
or cd into the ios directory of your project
cd ios
then run this
pod install
Finally rebuild your project with
yarn ios
or
npx react-native run-ios
Test your icons just like on the android
import AntDesign from 'react-native-vector-icons/AntDesign';
import Entypo from 'react-native-vector-icons/Entypo';;
- Then use it
 <AntDesign name="facebook-square" size={34} />
 <Entypo name="aircraft-take-off" size={34} />
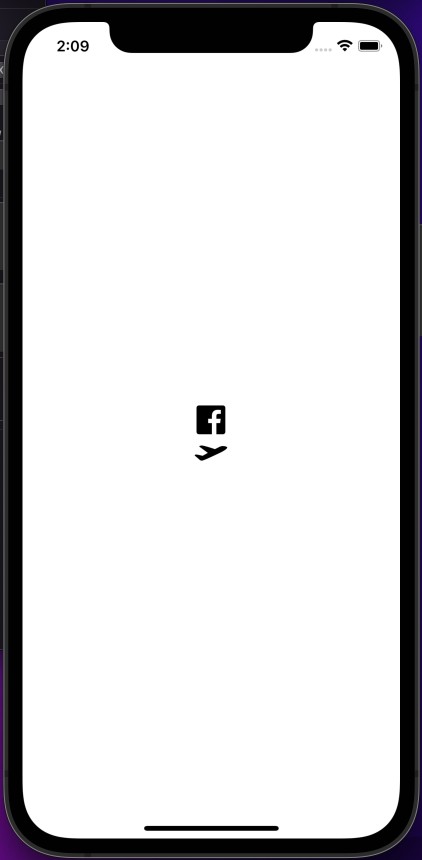
And that's how you can add Vector icons in your ios and android React native projects.
If you found this article useful please like , drop your comments and share with your friends.
You can also Follow me on twitter: @talk2dera


